Soda Firing Process

Last week, I participated in a soda firing at the Colorado Potters Guild. The soda firing process is a gas reduction type of firing and is fairly labor intensive as compared to a regular reduction firing and definitely easier than an electric or oxidation type kiln firing.

Soda Kiln is loaded - kiln packs are visible
Soda Kiln is loaded – kiln packs are visible

Soda Firing Process

In the soda firing process, soda ash (sodium carbonate) in water solution, is sprayed into kiln at maturing temperature, and sodium vapor combines with silica in clay to form sodium-silicate glaze.” – excerpted from Ceramic Arts Daily. It’s a magical process and I’m addicted to the outcome.

My firing partners and I spray the soda ash solution into the kiln ports when cone 9’s have fallen. Cone 9 is the equivalent of 2300 degrees F. We have 2 visible cone packs in the front bottom and top of the kiln. While we have a pyrometer to measure the temperature, we use the cone packs for visual confirmation of the kiln’s temperature. After the soda ash container is empty, we shut down the kiln and plug all the ports and burners. Once the kiln has cooled down so that pots can be handled with bare hands, we unload the kiln. We fired on Thursday and unloaded on Sunday, though, we probably could have unloaded on Saturday.

Soda Firing Process - Wadding Recipe
Soda Firing Process – Wadding Recipe

Wadding

After the soda ash is sprayed in the kiln at maturation, there is a fine layer of sodium silicate glaze over the interior of the kiln and on the kiln shelves. For this reason, we add little clay/alumina wads to the bottoms of our pots so that they do not stick to the kiln shelves. The wadding recipe contains 50% alumina which does not stick to the pots or the kiln shelves.

The wads to leave little circular marks on the pots which are the sign of a soda, salt or wood fired pot.

Soda Firing Adding Wadding to the bottom of each pot

Post Firing Clean Up

After unloading the soda kiln, clean up begins. We use silicone carbide scrapers to scrape the glaze off all the shelves and posts. It’s a huge job, but one that goes fairly quick between 4-5 people. We had 5 people in this last firing and were able to unload and clean up in two hours time. Clean up is dirty work – with silica dust flying wildly. We use safe practices and all wear respirators and eye protection.

Penny Woolsey Scraping Shelves

Below is a gallery of images if you would like to see more of our process.
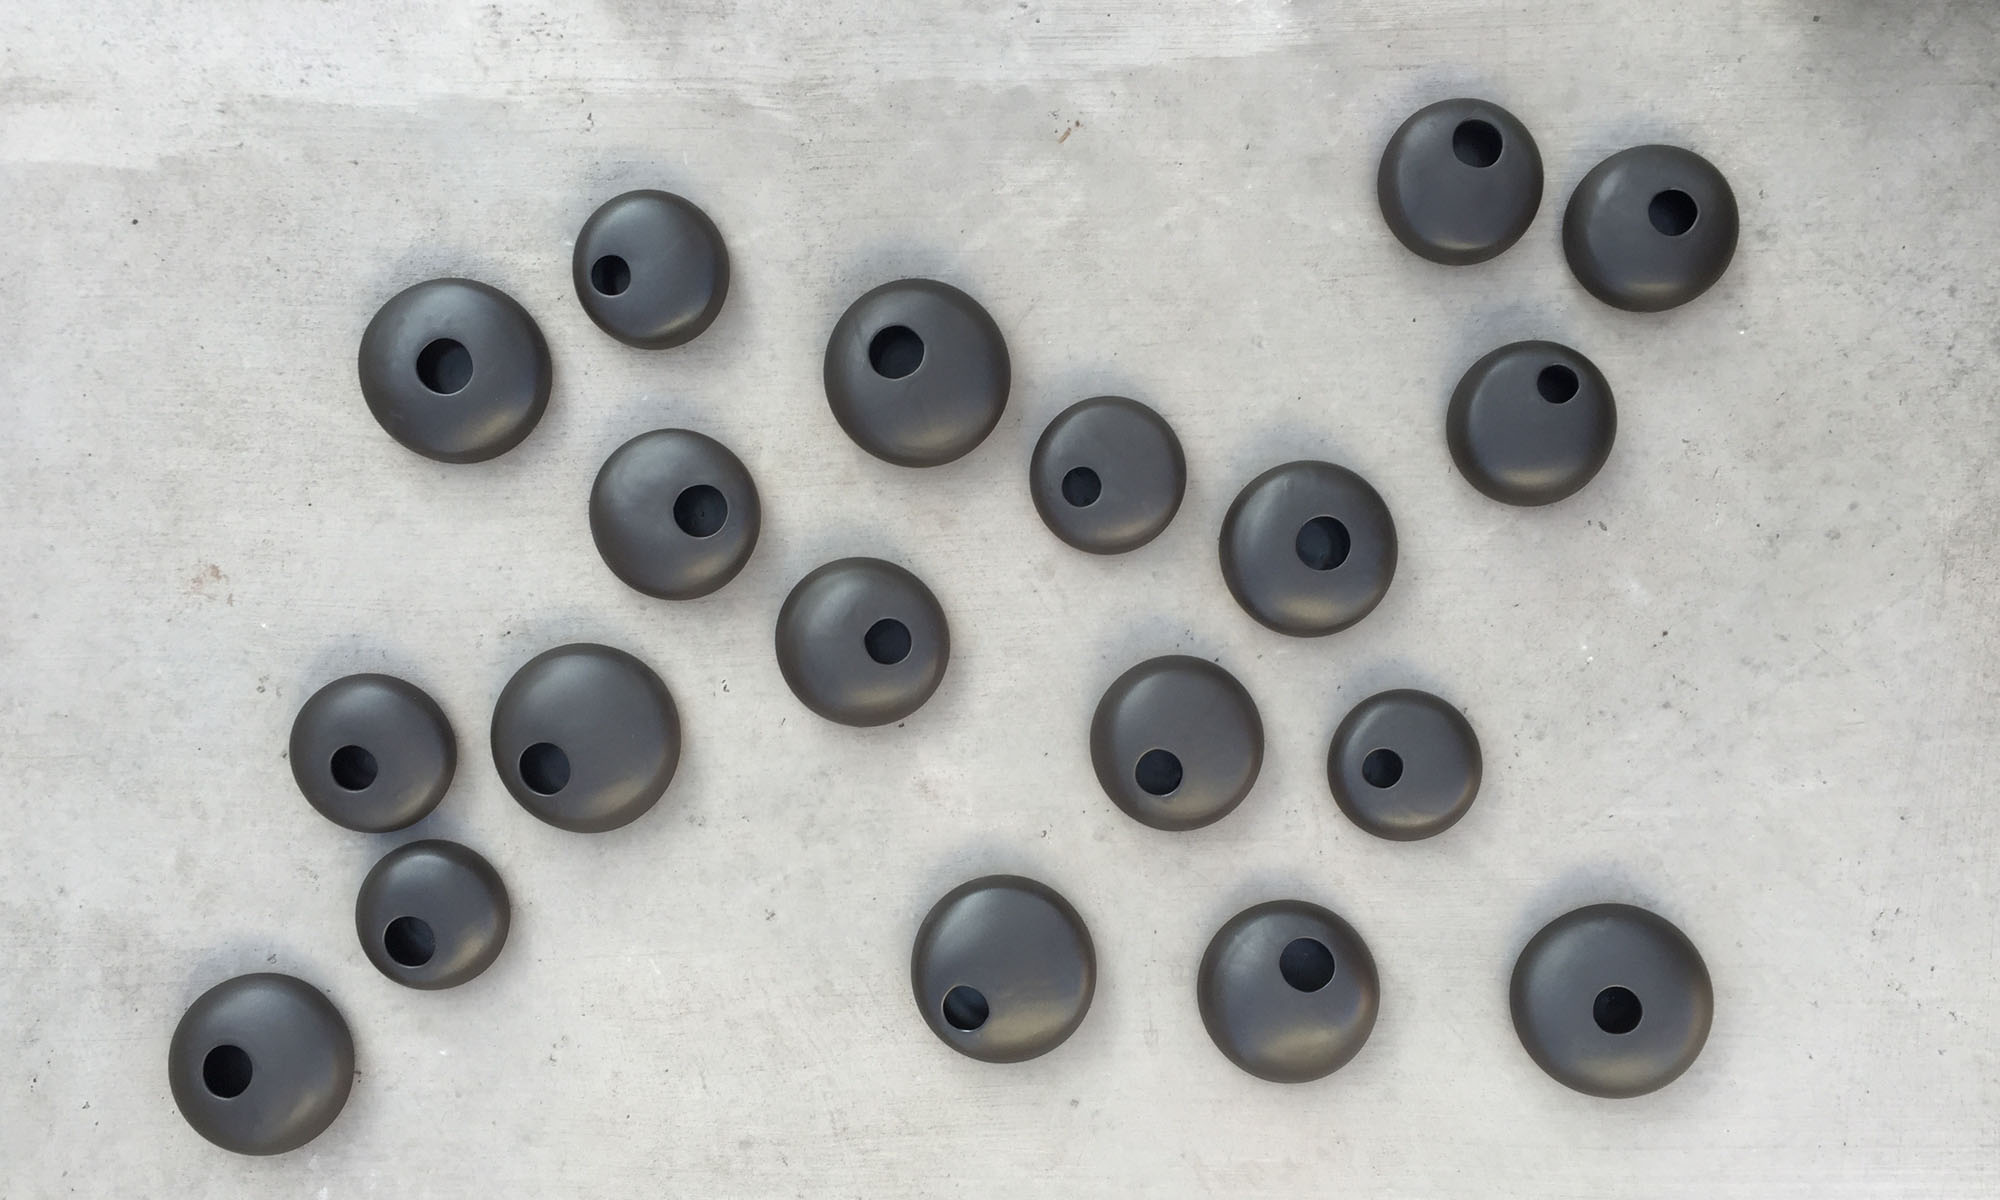
My Work Is Featured on Instagram by Skutt Kilns


Ceramicscapes featured on Instagram by Skutt Kilns

I woke up to a flurry of Instagram notifications on Monday morning and was surprised to see that my work is featured on Instagram by Skutt Kilns. The current guest host for Skutt Kilns is Paul Blais, the founder of The Potters Cast.

I’m a total Skutt Kilns fan and user. I purchased my Skutt KM 1027 in 2008 when I first started to outfit my home studio. It’s a power house and has a capacity of 7 cubic feet. Some days it’s too big and during my busy making months it’s not big enough. In the near future, I would like to add an additional kiln to my studio, but can’t decide if it should be bigger or smaller.

Before I upgraded to a digital Skutt Kiln, my first one was a smaller ancient manually operated Paragon kiln that I found on either a free cycle or Yahoo group.  It has a smaller capacity – roughly 3 cubic feet – and worked well for a beginning potter. My advice to beginners looking to equip their studios is to scour Craigslist and similar sites for kilns, wheels, and other studio items. You never know what you’ll find. I also have a small Aim 88T test kiln (shown in the photo below), however, the elements need to be replaced. It has a teeny tiny capacity that is really only suitable for jewelry or test tiles. Although, I have used it to re-fire a mug or two on occasion.

Ceramicscapes - Skutt KM 1027 Kiln in my studio
Ceramicscapes – Skutt KM 1027 Kiln in my studio

Kiln Temperature Firing Ranges

Typically, I bisque fire to ^05 (1914 degrees F) and glaze fire to ^6 oxidation (2232 degrees F). Here’s a link to the Orton Pyrometric Cone Chart for more information on firing temperature ranges and a link to the Orton Ceramic website.

Soda Firing

About 6 times a year, I participate in soda firings at the Colorado Potters Guild with a group of women. The core group of us has been firing the soda kiln together now for about 3 years. The soda kiln at the guild is fueled by gas and has a capacity of nearly 25 cubic feet which we fire to ^10 or 2345 degrees F. Sharing the kiln makes filling, firing and cleaning the kiln a ton easier. I love the process and outcome of soda firings so much that I would love to convert an old electric kiln for home use. 

Typically, I bisque fire my ware in my Skutt KM 1027 before I pack it up and schlep it to the potters guild. 

To give you an idea how we load our soda kiln – also known as a vapor kiln, check out this quick 5 sec. time lapse video.

On Friday, I’ll be sharing another ceramic artist’s profile. It should be a good one!


RSS
Follow by Email
Facebook518
Pinterest1k
Pinterest
fb-share-icon
Instagram13k