100 Days of Patterns Update

This is going to be a  short post today because I have been working very hard to make work for the next two sales I am participating in this weekend and next weekend. In today’s post, I’ll be sharing a 100 Days of Patterns Update.

100 Days of Patterns Update

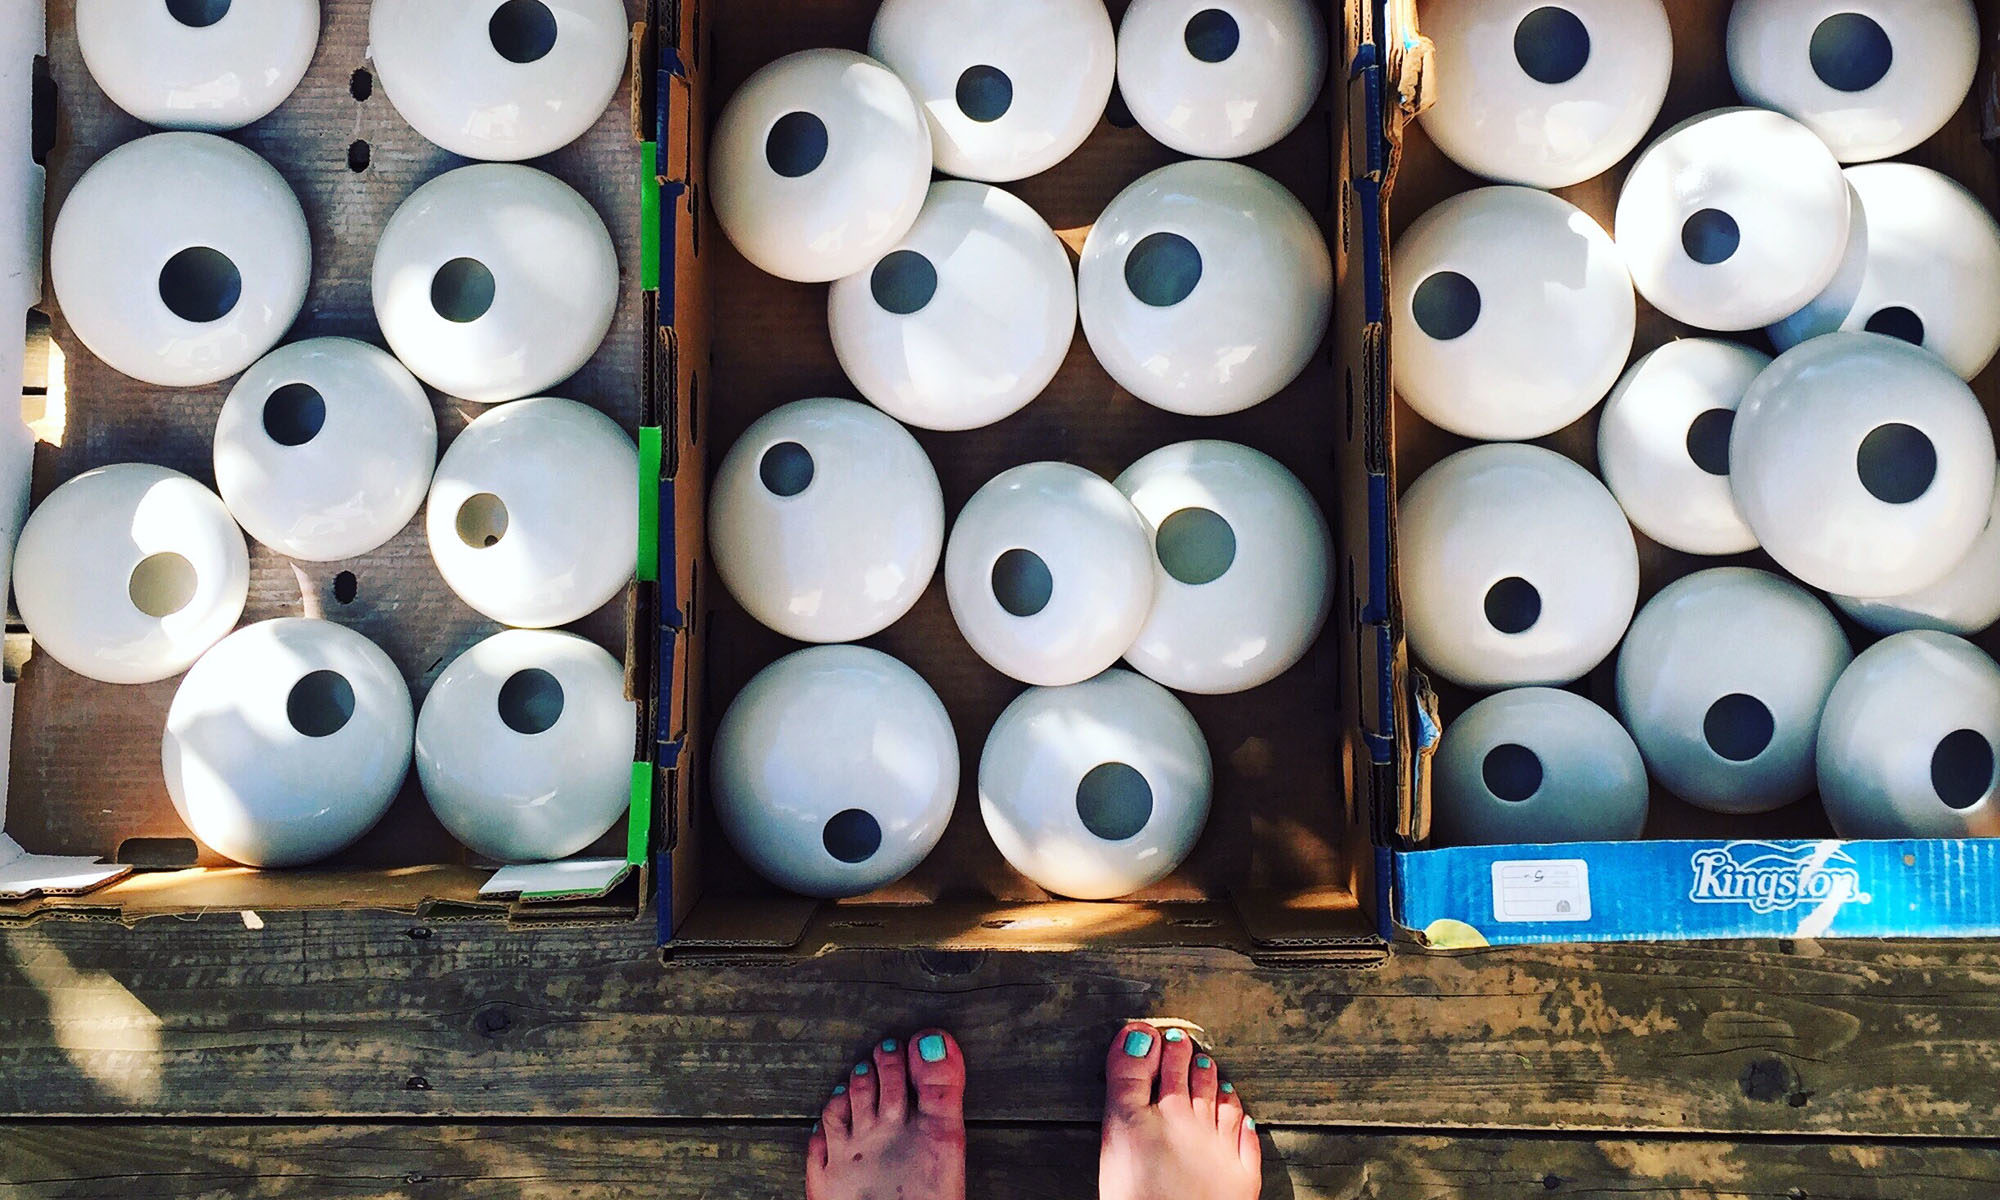
Today is the perfect day to share some of my daily sketches for the 100 Days Project. I am breaking the project into 20 day blocks. For the first 20 days, I concentrated on circles and dots. Currently, I am exploring line work for the second 20 day block. 

Cindy Guajardo LINES 100 Days of Pattern 21-34

Ultimately, this project is an exploration in mark making. By keeping the color palette limited, the project is more cohesive and also takes out a lot of guess work for me. 

After my two shows are history, I plan to start making paper clay tiles using my clay scraps and recycled paper scraps that I’ve been collecting. Then, I’ll begin the process of translating my 100 Days of Pattern sketches to the tiles. I’m pretty excited about this project. It feels ambitious, but at the same time doable since I’m breaking up the project into modules. My next 20 day block will include geometrics. 

Here are a few of my favorites in the line work block:

"<yoastmark

"<yoastmark

"<yoastmark

"<yoastmark

"<yoastmark

True confession though…I worked ahead this week on my sketches because I can not see a way for me to draw the daily sketches during the Colorado Potters Guild show. I volunteered to be the show chair this spring and I have to keep too many balls in the air, so to speak. The days are long.  While I love meeting all of our customers and catching up with guild members, it’s also exhausting. I’m not sure if this is considered cheating, but it sure makes my life a bit easier.


Events:

You will find me at the Colorado Potters Guild Spring Sale May 4-6, 2017.

First Plymouth Congregational Church
3501 South Colorado Boulevard
Englewood, CO  80113
(Hampden + Colorado Blvd)

May 4 – 4:00 – 8:00 PM (Opening reception)
May 5 – 9:00 AM – 8:00 PM
May 6 – 9:00 AM – 5:00 PM

On May 13, 2017, I’ll be sharing a booth at the Horseshoe Market in Denver with Sarah Christensen Ceramics.

Olinger Moore Chapel
4345 West 46th Ave
Denver, CO 80212

9:00 AM – 4:00 PM


I missed last Feature Friday’s blog post. Unfortunately, my guest has a very busy show schedule too and was unable to participate due to time constraints. I hope that I’ll be able to share her work in the near future because I’m such a fan. 

In the mean time, despite my busy schedule, I’ll be sharing the work of Noelle Horsfield on May 5, 2017 for Feature Fridays. My post is already formatted – all I need to do is hit publish. I can’t wait to share her work and interview with you.

Soda Firing Process

Last week, I participated in a soda firing at the Colorado Potters Guild. The soda firing process is a gas reduction type of firing and is fairly labor intensive as compared to a regular reduction firing and definitely easier than an electric or oxidation type kiln firing.

Soda Kiln is loaded - kiln packs are visible
Soda Kiln is loaded – kiln packs are visible

Soda Firing Process

In the soda firing process, soda ash (sodium carbonate) in water solution, is sprayed into kiln at maturing temperature, and sodium vapor combines with silica in clay to form sodium-silicate glaze.” – excerpted from Ceramic Arts Daily. It’s a magical process and I’m addicted to the outcome.

My firing partners and I spray the soda ash solution into the kiln ports when cone 9’s have fallen. Cone 9 is the equivalent of 2300 degrees F. We have 2 visible cone packs in the front bottom and top of the kiln. While we have a pyrometer to measure the temperature, we use the cone packs for visual confirmation of the kiln’s temperature. After the soda ash container is empty, we shut down the kiln and plug all the ports and burners. Once the kiln has cooled down so that pots can be handled with bare hands, we unload the kiln. We fired on Thursday and unloaded on Sunday, though, we probably could have unloaded on Saturday.

Soda Firing Process - Wadding Recipe
Soda Firing Process – Wadding Recipe

Wadding

After the soda ash is sprayed in the kiln at maturation, there is a fine layer of sodium silicate glaze over the interior of the kiln and on the kiln shelves. For this reason, we add little clay/alumina wads to the bottoms of our pots so that they do not stick to the kiln shelves. The wadding recipe contains 50% alumina which does not stick to the pots or the kiln shelves.

The wads to leave little circular marks on the pots which are the sign of a soda, salt or wood fired pot.

Soda Firing Adding Wadding to the bottom of each pot

Post Firing Clean Up

After unloading the soda kiln, clean up begins. We use silicone carbide scrapers to scrape the glaze off all the shelves and posts. It’s a huge job, but one that goes fairly quick between 4-5 people. We had 5 people in this last firing and were able to unload and clean up in two hours time. Clean up is dirty work – with silica dust flying wildly. We use safe practices and all wear respirators and eye protection.

Penny Woolsey Scraping Shelves

Below is a gallery of images if you would like to see more of our process.

RSS
Follow by Email
Facebook518
Pinterest1k
Pinterest
fb-share-icon
Instagram13k